Marching shoes aren’t like regular sneakers so caring for your marching shoes is a must! Not only is it vital to maintain that polished, military look, but they’ll last longer and keep your knees, ankles, and feet safe from injury. The good news is that modern marching shoes don’t need a lot of extra products to keep them looking great.
First, proper care:
- Only wear your marching shoes for practice or performances – your shoes will last longer if you limit the amount of time you wear them. Throw on a pair of slides or your regular shoes before and right after practice.
- When you’re not wearing your marching shoes, be sure to store them correctly sitting upright so they don’t get squished. This can ruin the shape of the shoe and make them more prone to rips between the soles and uppers.
- Use a separate bag to carry your marching shoes or purchase a garment bag with a built-in carrying pouch to prevent transferring stains and smells to or from your workout wear or uniform
Cleaning Polishing Marching Shoes:
Dirt happens. Even when you do everything right, scuffs, stains, and marks get on your shoes. Many people recommend bleach to maintain that fresh-out-of-the-box look, but Band Shoppe absolutely disagrees. Especially if your group wears black shoes! On white shoes, bleach will yellow over time, while on black shoes, the risk of discoloring is too great. Our pros recommend a mild detergent like Dawn or a degreaser such as Mean Green, Simple Green, or 409. But remember to start slow and go easy on the chemicals.
Here’s what you’ll need:
- An old towel or microfiber cloth
- An old Toothbrush
- Toothpaste
- Water
- Soap (like Dawn dish soap diluted with water or a good leather cleaner, degreasers like Mean Green, Simple Green, or 409 work well on white shoes, glass cleaner like Windex works great on high-gloss formal patent shoes))
- Leather conditioner (We like Armorall® wipes—yeah, the ones for your car! Just make sure you get the right ones: leather for real leather shoes, vinyl for synthetic, vinyl, or vegan leather shoes.)
- A clean, white cloth
- Rubber Gloves (optional)
- Prepare your space. Lay down a clean towel or work on a surface that you don’t mind getting wet or dirty. If you have sensitive skin, it may be helpful to put on some rubber gloves.
- Grab your toothbrush. Oddly enough, toothpaste is great for dealing with surface dirty (it’s also good for cleaning silver jewelry too!). Wet your toothbrush and add about a pea-sized amount of toothpaste – less is more.
- Brush, brush, brush. Put your hand inside the shoe to hold the shape and gently brush the dirty areas in a circular motion, working a little at a time. If you’re cleaning the sole of your shoe, you can scrub a little harder.
- Wipe. As you finish each section, wipe the area with a clean, damp cloth to remove the dirt and toothpaste. Never dunk your shoes!
- And repeat. For tougher spots, you may need to go at it twice. Then wipe the entire shoe one more time to make sure there’s no residue left. Repeat the steps with the other shoe.
- Soap. If that didn’t work, then it’s time to bring out the big guns. Gentle soaps like Dawn dish liquid or soap made specifically for leather like saddle soap work really well on scuffs and marks caused by wear. Just add a little to the area and gently scrub the marks with your cloth or toothbrush – again cleaning in small sections in circular motions, wiping clean each time. Don’t leave the toothpaste or soap on for too long.
- Condition. All that scrubbing can dry out your shoes – especially those made of genuine leather. To add the shine back to your shoes and keep the leather supple, add a dab of leather conditioner to a clean microfiber cloth and buff buff buff. Or keep it simple with Armorall® wipes (be sure grab the right ones for your shoe material, leather for genuine leather or vinyl for synthetic or vegan leather) and give your shoes a good buff.
- Air it out. Let your freshly cleaned shoes air-dry in front of a fan. Don’t put them in the sun or by a heater, this can cause the rubber to fade or crack.
- Don’t forget your laces! You can clean surface dirt off of your laces using the techniques mentioned above, give them a rinse in warm war, and then let them air-dry… or just buy some fresh laces.
TIP: if your shoes smell – try mixing ¼ cup of baking soda, ¼ cup of baking powder, and ½ cup of cornstarch. Grab a pair of cotton socks, put ½ cup of the mixture in each sock, and tie off with a bit of yarn or some twist-ties. Now tuck one in each shoe and let sit overnight to absorb odors.
That’s it!
While you’re cleaning your shoes, remember to look them over. If the bottom of your shoe is starting to separate from the upper, don’t try to glue it. This cosmetic fix is only temporary; marching in shoes that are coming apart could fail during a performance or worse – cause significant injury. If your shoes are starting to show signs of extreme wear, it may be time to replace them.
-
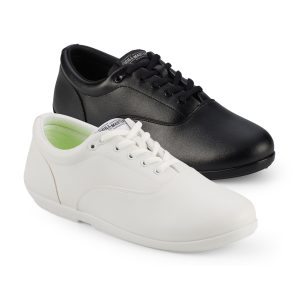 Drillmasters Marching Band Shoes$44.95
 -
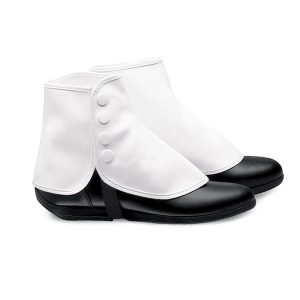 Vinyl Snap Spats$11.95
 -
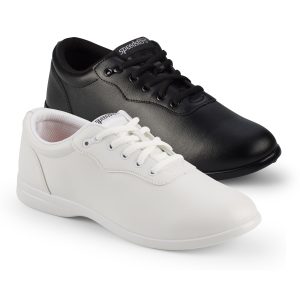 Speedsters Marching Band Shoes$35.95